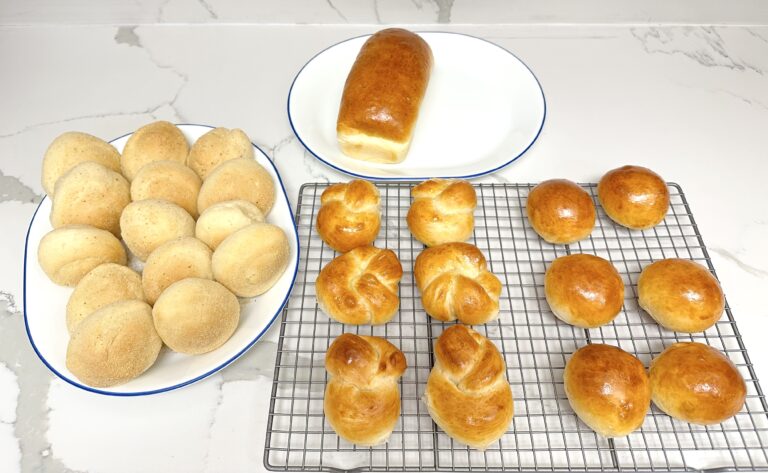
Hello, baking besties! I am excited to share my experience during our first practical assessment. After two months of theoretical – by the way, we do the classes at our own pace, so with a full-time job and other gazillion projects, it felt like forever for me, but I am finally baking! Here’s the scoop on the details of my first practical and how it went. Let’s dive in.
Our first practical was about Basic Enriched Dough; we were tasked to make the following:
- 12 dinner rolls
- One white loaf of bread
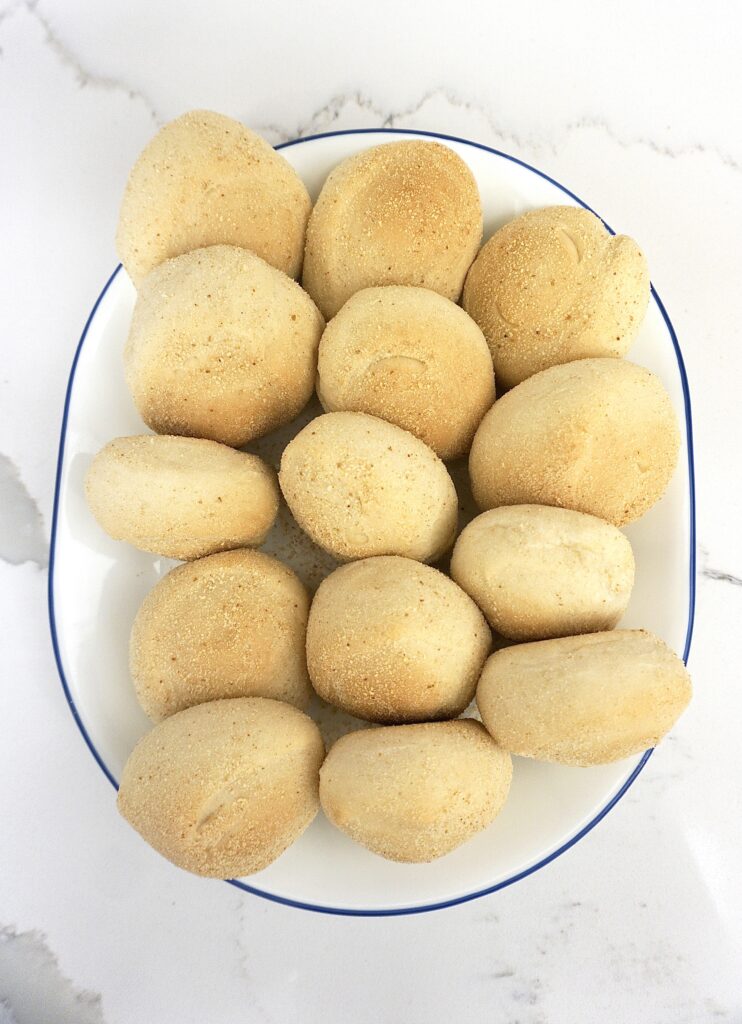
- Pandesal – my favorite
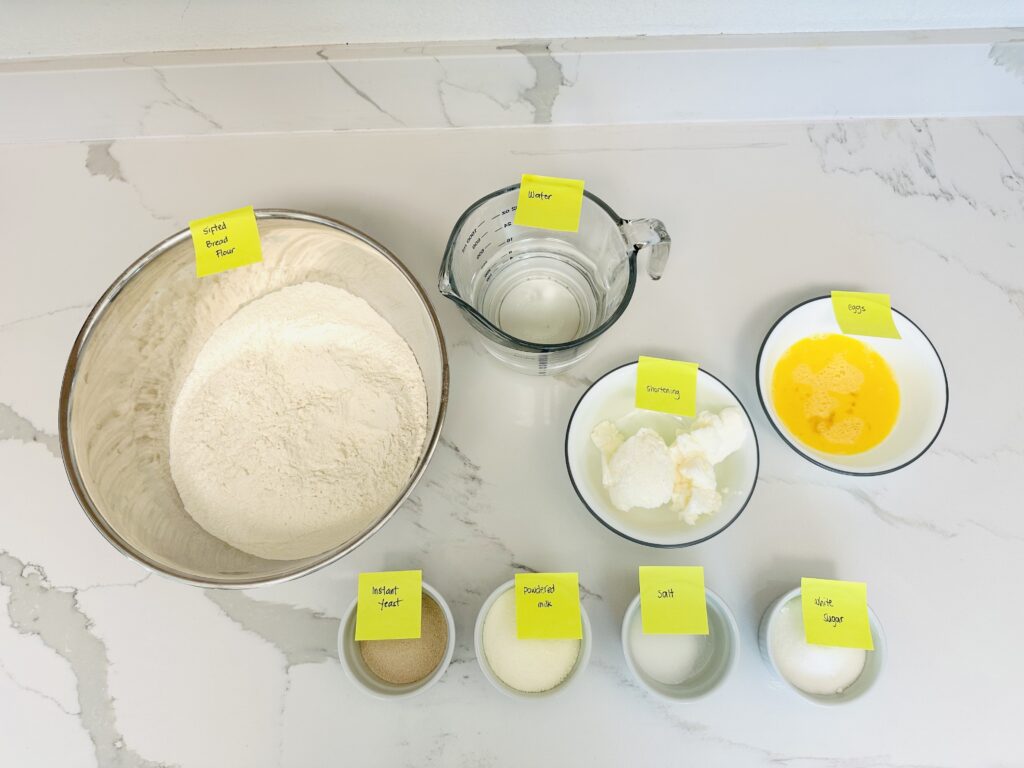
What is an Enriched Dough?
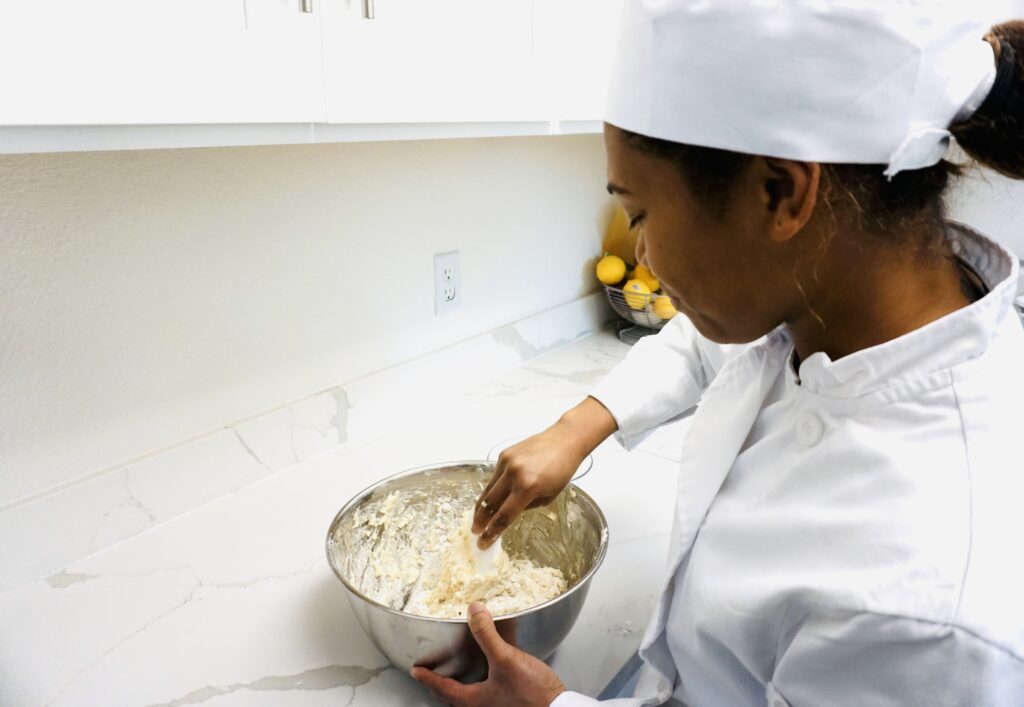
For those unfamiliar, an enriched dough is a regular bread dough with extra love in sugar, eggs, and butter. We used the modified straight dough method. I mixed the bread flour and instant yeast in one bowl and sugar, salt, powdered milk, eggs, and water in another. Then, I combined the wet and dry ingredients and added the shortening right before kneading the dough like it was my job (well, it is now). After letting the dough rise (also called bulk fermentation), it was time to get creative.
First, I preshaped my loaf and rolls into boules and let them rest (bench rest, as they call it). Then, I moved on to shaping the Pandesal in its traditional shape, called a baston, and divided it into 14 pieces.
What is Pandesal?
Quick background about Pandesal for my non-Filipino baker friends: if the Philippines had a national bread, it would probably be Pandesal. It is part of the typical Filipino breakfast as a substitute for rice. Introduced during the 16th-century Spanish colonial era, Pandesal has a soft crumb texture and slightly crunchy crust that is light to golden brown. It can be served with various spreads, dipped in coffee, or filled with ice cream (yes, you read that right).
After preshaping and letting the dough rest, I worked on different knots – single, double, and even a figure of eight knots. Honestly, I felt like a bread magician with all these knot-tying skills. All jokes aside, this was where I struggled. I definitely need to keep practicing my knot-tying skills.
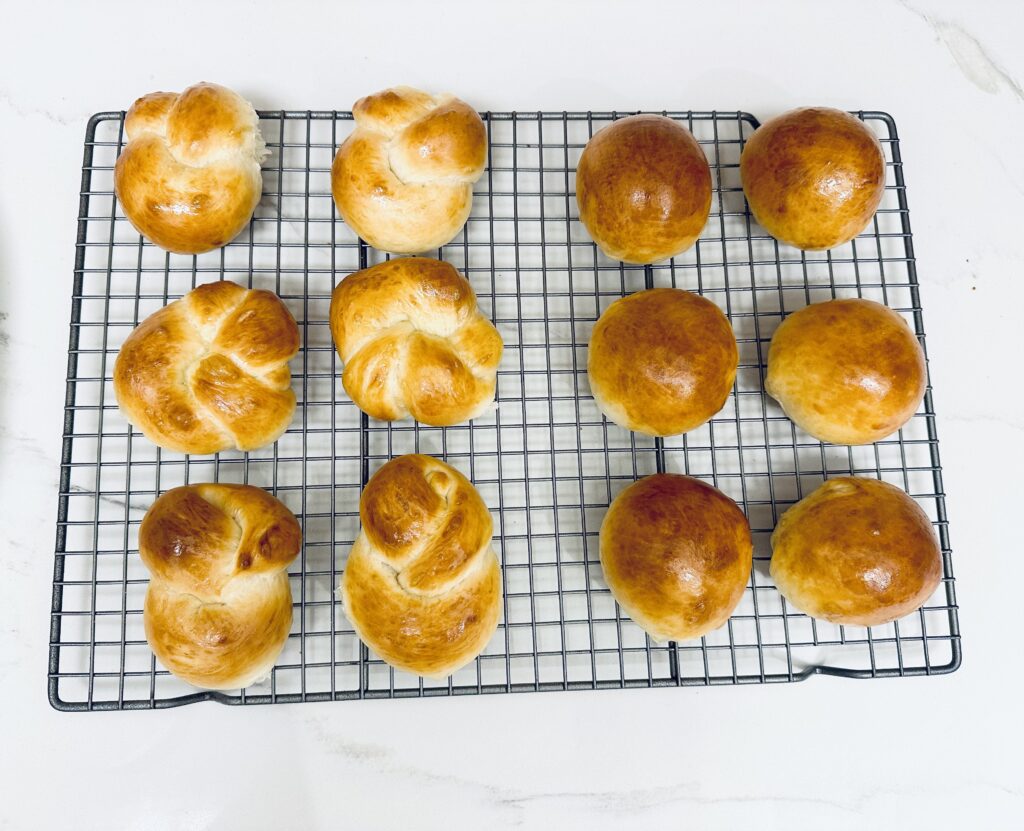
After the final proofing, the Pandesal went into the oven, then the loaf, and the rolls. At that moment, our apartment smelled like a bakeshop, and I loved it! Overall, I was happy with the fluffy texture and taste of the bread.
Challenges
Now, let’s talk about the challenges. Making enriched dough could be tricky, especially if you are new to baking. The dough can be sticky and challenging to work with; I seriously thought it would not come together after adding the shortening, but do not panic my friends; it will come together. Trust the process! Another challenge was shaping the dough into knots. After proofing, the knots looked almost the same (yikes!). It really requires practice.
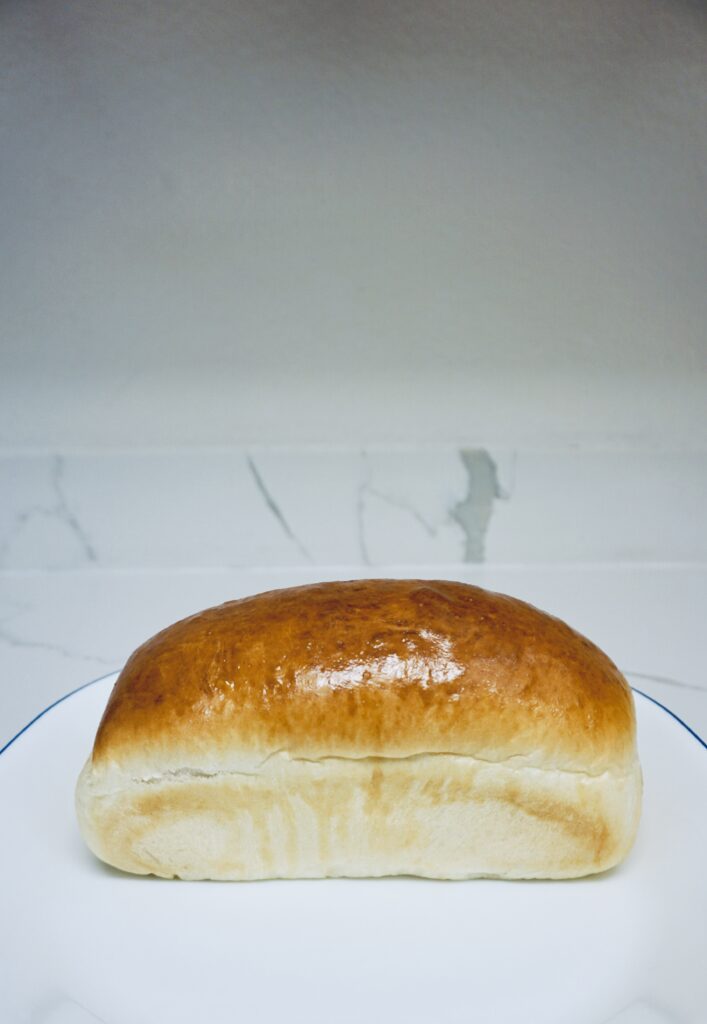
In the end, my basic enriched dough was a success. I learned a lot, and I got to enjoy some delicious bread in the process. Also, Pandesal is one of my favorite types of bread from back home, and living thousands of miles from the Philippines, sometimes finding Filipino bread could be challenging, so I am thrilled that I can now make it at home any day.
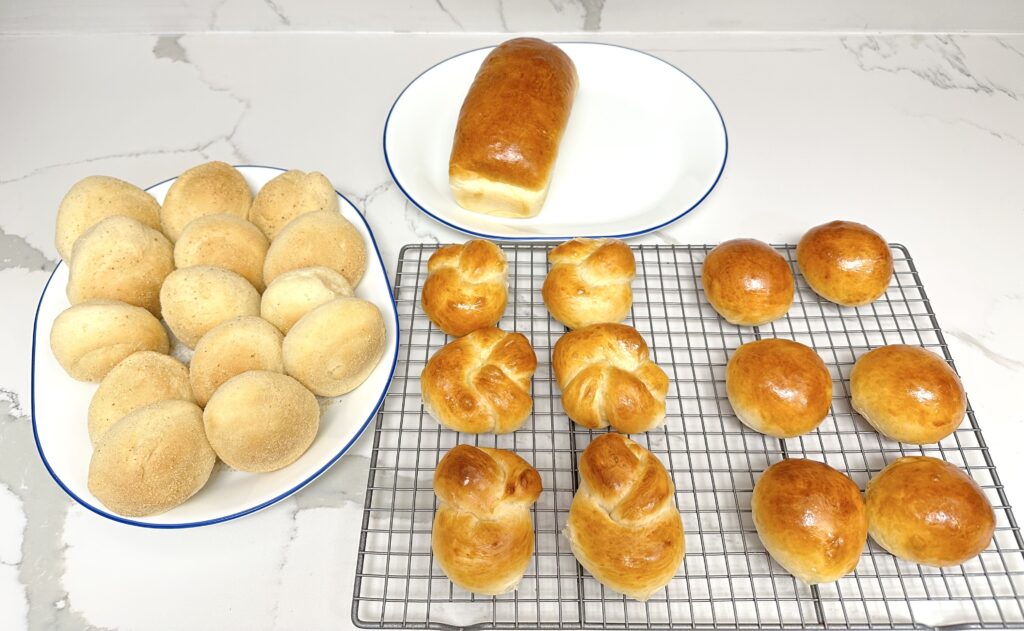
And there you have it! My first practical exam experience with basic enriched dough. I hope you enjoyed reading about my experience. Don’t be discouraged if your first attempts don’t happen as planned. Just keep trying, experimenting, and learning from your mistakes. Thank you for coming along and stay tuned for more exciting baking adventures.
Happy baking!
